
Give generated illustrations, lecture slides, and interactive artifacts a consistent visual identity. Workspace Brand brings together your palette, logo, reference images, design instructions, and reusable icons.
A workspace administrator manages Brand in Organization → Brand.
1. Choose a starting point
Choose one of three options:
- From your website: enter the website address and select Continue to extract its visual style.
- Upload brand guidelines: select a PDF, PNG, JPG, WebP, Markdown, or text file. PDF guidelines can be up to 5 GB. Keep the page open until uploading finishes; document processing can then continue in the background.
- From scratch: select Start designing and enter your own brand details.
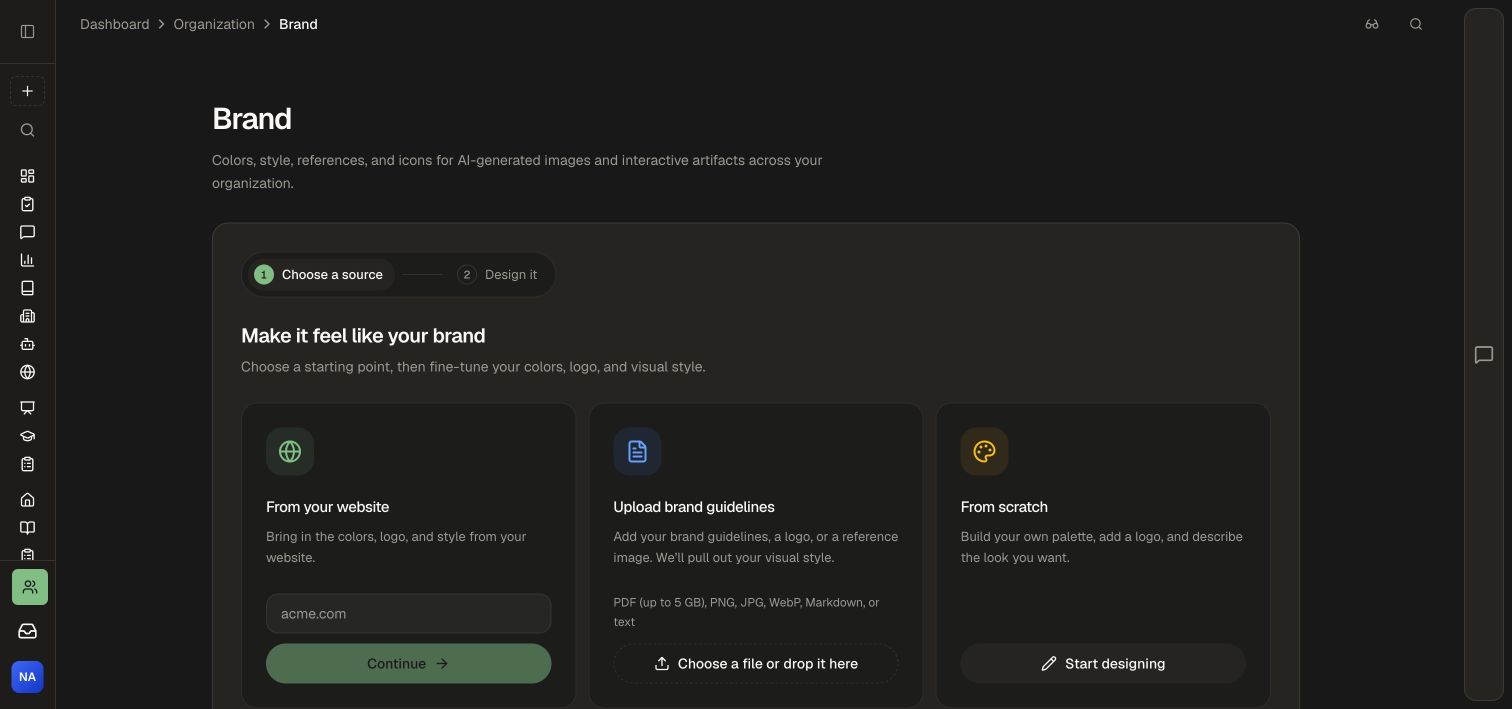
All three paths lead to an editable draft so you can review the result before saving.
2. Define the visual style
- Enter Brand name.
- Add a Logo, or use Replace to change an existing one.
- Set Primary, Accent, Background, and Text colors with the color picker or hex fields. Leave a color unset to use its default.
- Turn on Use my brand style when your guidelines and references should define generated images and lecture slides.
- Write Design instructions covering layout, typography, icon style, and how reference images should be used.
- Add up to six Reference images in PNG, JPEG, or WebP format, up to 2 MB each.
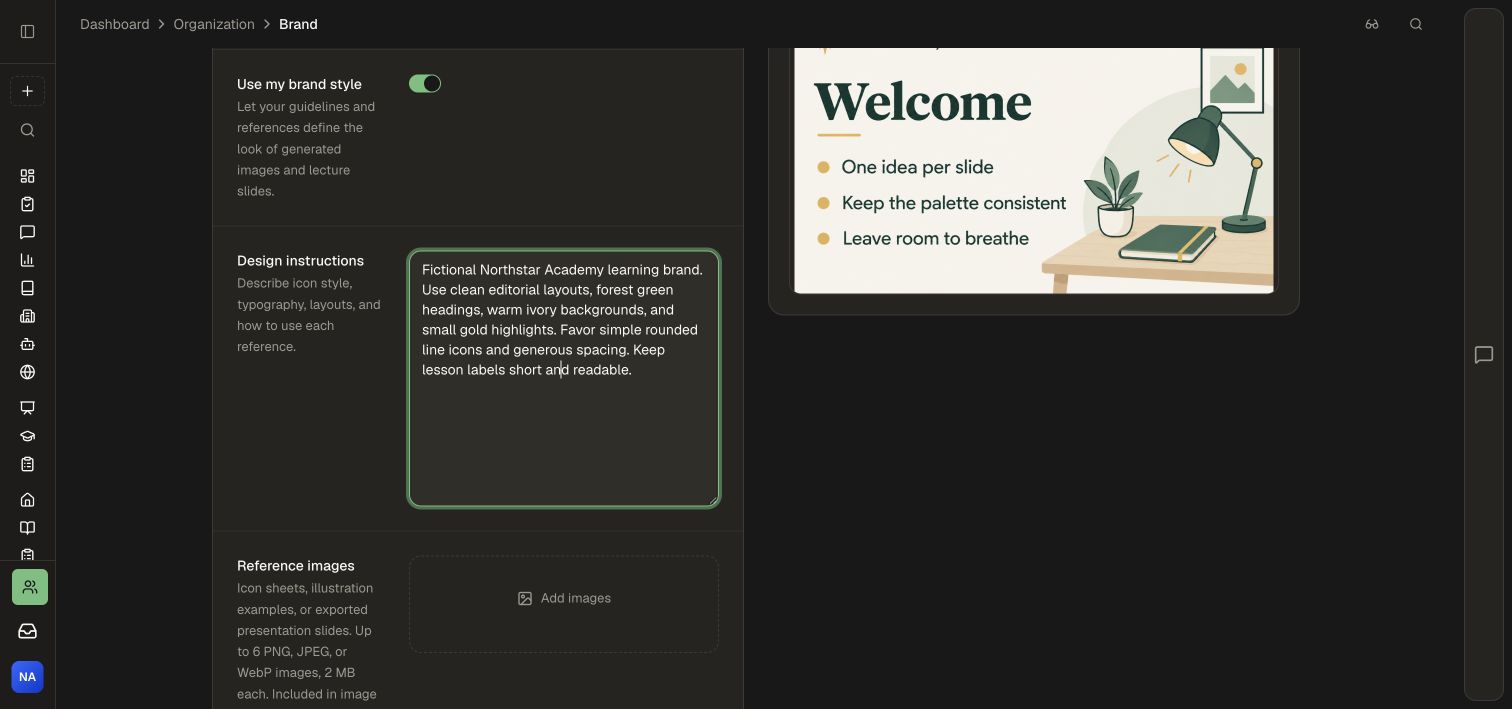
Use specific instructions such as “forest green headings, warm ivory backgrounds, small gold highlights, and generous spacing.” Explain what each reference contributes: illustration style, a slide layout, or an icon treatment.
3. Preview and save
- Select Generate preview.
- Review both Reading illustration and Lecture slide.
- Adjust the draft if needed and select Regenerate.
- Select Save brand to keep the reviewed settings and previews.
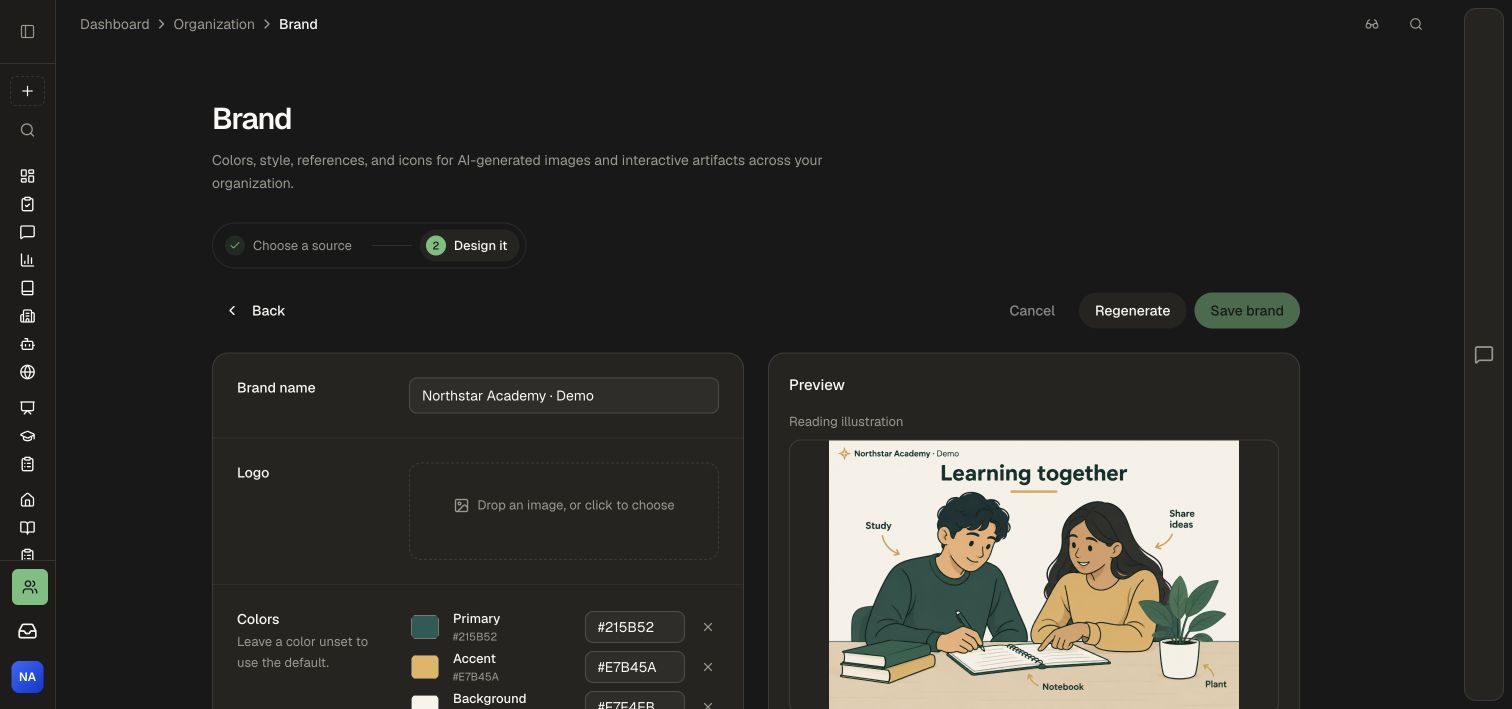
When settings change after a preview was generated, regenerate to see the revised appearance before saving. Brand settings guide future generation; update existing course visuals through their editing controls when you want them to adopt the new style.
4. Add reusable artifact icons
- Find Artifact icons on the Brand page.
- Select Add icons to upload PNG, JPEG, WebP, or SVG files. Each icon can be up to 2 MB; the library supports up to 512 icons.
- Give each icon a meaningful name so generated HTML artifacts can use it for the right concept.
- For a collection, select Import ZIP or CSV. ZIP archives can contain icons in folders. CSV files use
name,urlcolumns with public HTTPS image links; Example CSV shows the format. Import files can be up to 4 MB. - Use the search and Preview surface controls to check icons on light or dark backgrounds.
- Select Save brand to retain the imported icons.
5. Require the workspace Brand
After saving a brand, turn on Use this brand on every course when authors should use the organization's identity across courses. Members cannot set a different brand on their own courses while this is required.
With enforcement off, course-level brand settings remain available. The workspace's generated-media Brand and a Site's logo, theme, and layout have different purposes; configure your academy appearance in the Site editor.
Related: Templates, Create and edit media, Governance.