
Your workspace contains the team's content, people, sources, and settings. These examples use the fictional Northstar Academy · Demo workspace.
1. Confirm the workspace
Open Dashboard and check the name in the heading and breadcrumb. The workspace menu at the bottom of the sidebar shows the current workspace and your role. Choose the intended workspace there before creating content.
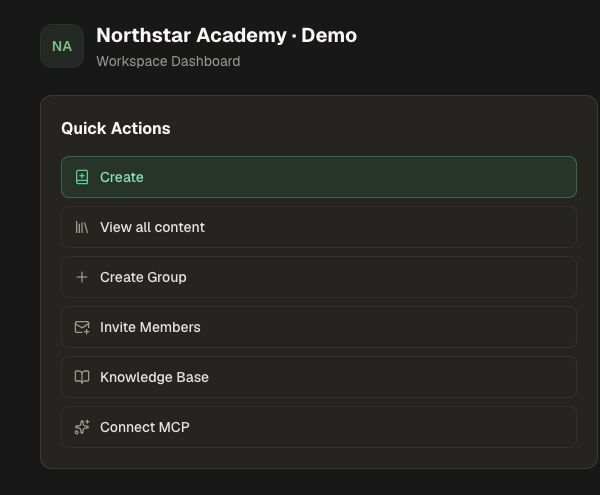
2. Pick the right starting point
Use Quick Actions for common work: Create, View all content, Create Group, Invite Members, Knowledge Base, and Connect MCP. Available actions depend on your role and plan.
| Area | Use it for |
|---|---|
| Create | Start a Course, Assessment, or Atom from a brief and sources. |
| Knowledge Base | Find, organize, and maintain approved source documents. |
| Assistant | Ask questions or request work in plain language. |
| Organization | Manage content, people, groups, and workspace settings. |
| Agents | Configure custom assistants, automation tasks, and execution logs. |
| Analytics | Review learning activity and results. |
| Instructor: My groups and Assignments | Run the cohorts and assignments you manage. |
| Learning: My Courses and My Assignments | Open your own learning work. |
| Explore | Browse content available to you. |
If the navigation shows only icons, use Expand sidebar to reveal the labels. A course editor or Knowledge Base document has its own controls inside the main page.
3. Search instead of navigating every menu
Select Search in the header or sidebar. Enter a page, course, or workspace-content name, then choose a result. Use the Knowledge Base's own Search documents when working specifically with source documents.
For example, open Knowledge Base, enter “Customer” in Search documents, and select Customer onboarding checklist. Check the document title after opening it.
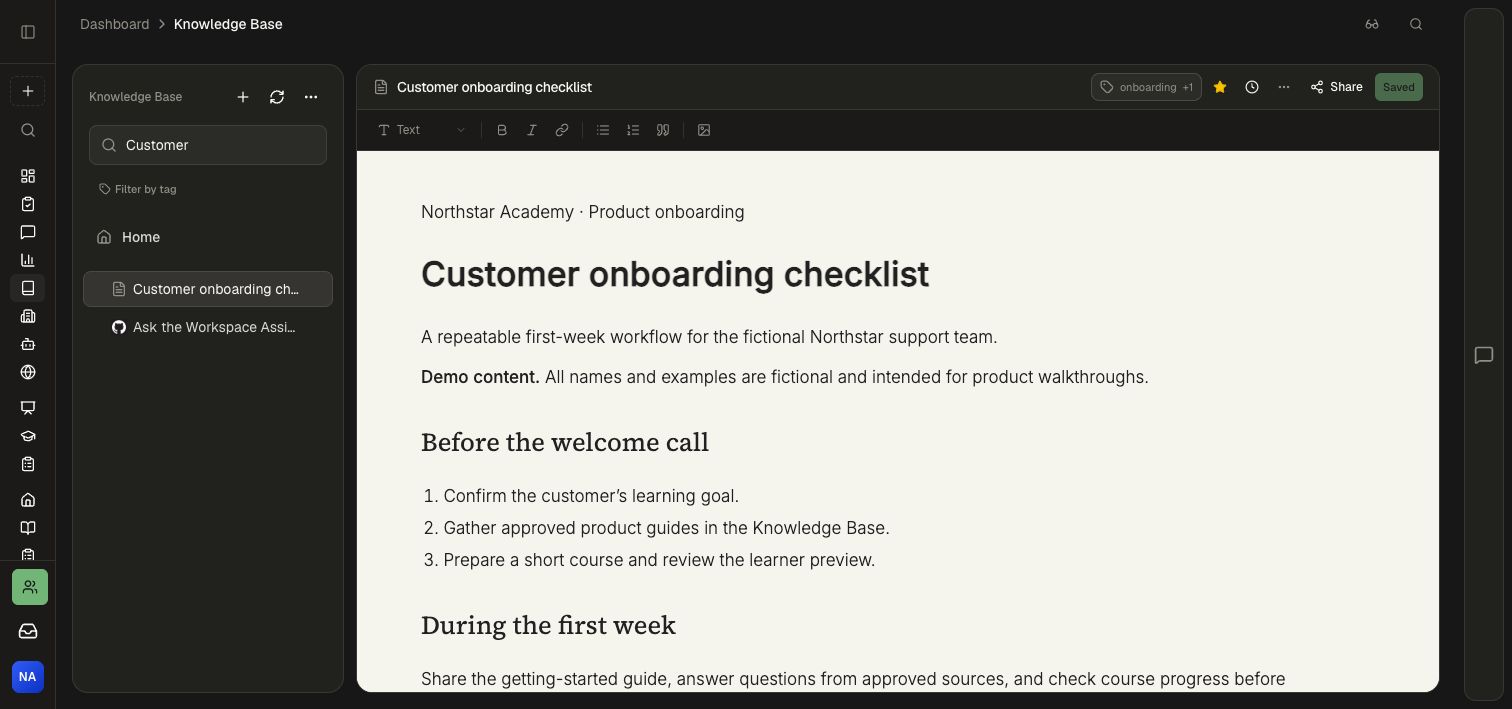
Use global Search to move between areas, or open a specific area and use its own search to focus your results.
4. Open and check the item
Read the title after opening a result. Check the breadcrumb to understand where it lives. For learning, open the assigned course; for editing or administration, use the relevant Organization or editor view. A learner and an administrator can see different actions for the same content.
If an option is missing
Choose the workspace where your content lives. Search shows the items available to your role; your workspace administrator can help you find the right folder, group, or access setting.