
Turn the same learning goal into illustrated slides, an audio conversation, an explainer video, a comic, music, or a game. Each format has a focused editor so you can refine the content and preview the experience learners will use.
Add a format and open its editor
- For a new course, tell the creation assistant which formats you want when it asks about the learning structure. Check that they appear in the outline before approving the build. See Course creation.
- For an existing course, open Course Editor Assistant and name the topic, format, source, and desired result. For example: “Add a lecture to the Welcome call topic using the attached checklist. Teach the three preparation steps.”
- Make sure the topic has learning objectives. Lecture, Podcast, Comic, and Jam generation need goals to work from.
- Wait for generation to complete, then open the activity to review its content and media.
- Open Edit, expand the topic in the course tree, and select its activity.
- Use Editor to change content and Learner View to inspect that activity. The course-wide Preview lets you check it in context.
Use a source-specific request to make the first draft useful:
| Format | Example request to the assistant |
|---|---|
| Lecture | “Use the attached procedure to make a visual lecture explaining the three preparation steps.” |
| Podcast | “Create a two-speaker conversation explaining the approved welcome-call process, using this checklist.” |
| Video | “Create a narrated explainer of the workflow, using these product screenshots in order.” |
| Comic | “Show a new teammate following the procedure in a short comic; keep the dialogue consistent with the checklist.” |
| Jam | “Create a song that reinforces the topic's learning goal and the three approved preparation steps.” |
| Arcade | “Add a game question set that tests the decisions in this topic, with explanations grounded in the source.” |
A topic supports one activity of each format. To give learners two separate lectures in a sequence, use separate topics.
Lecture: edit slides and illustrations
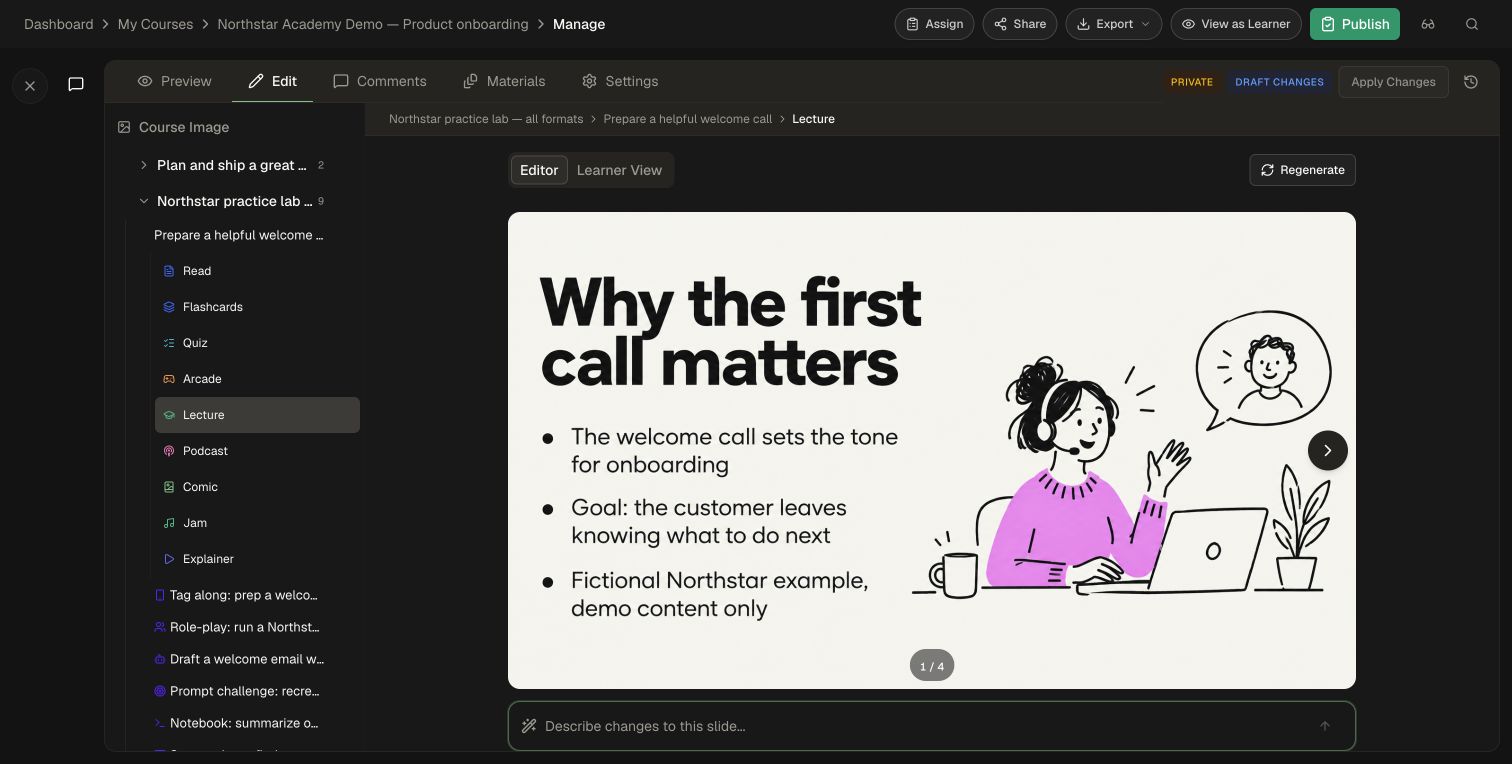
- Open the topic's Lecture activity and stay on Editor.
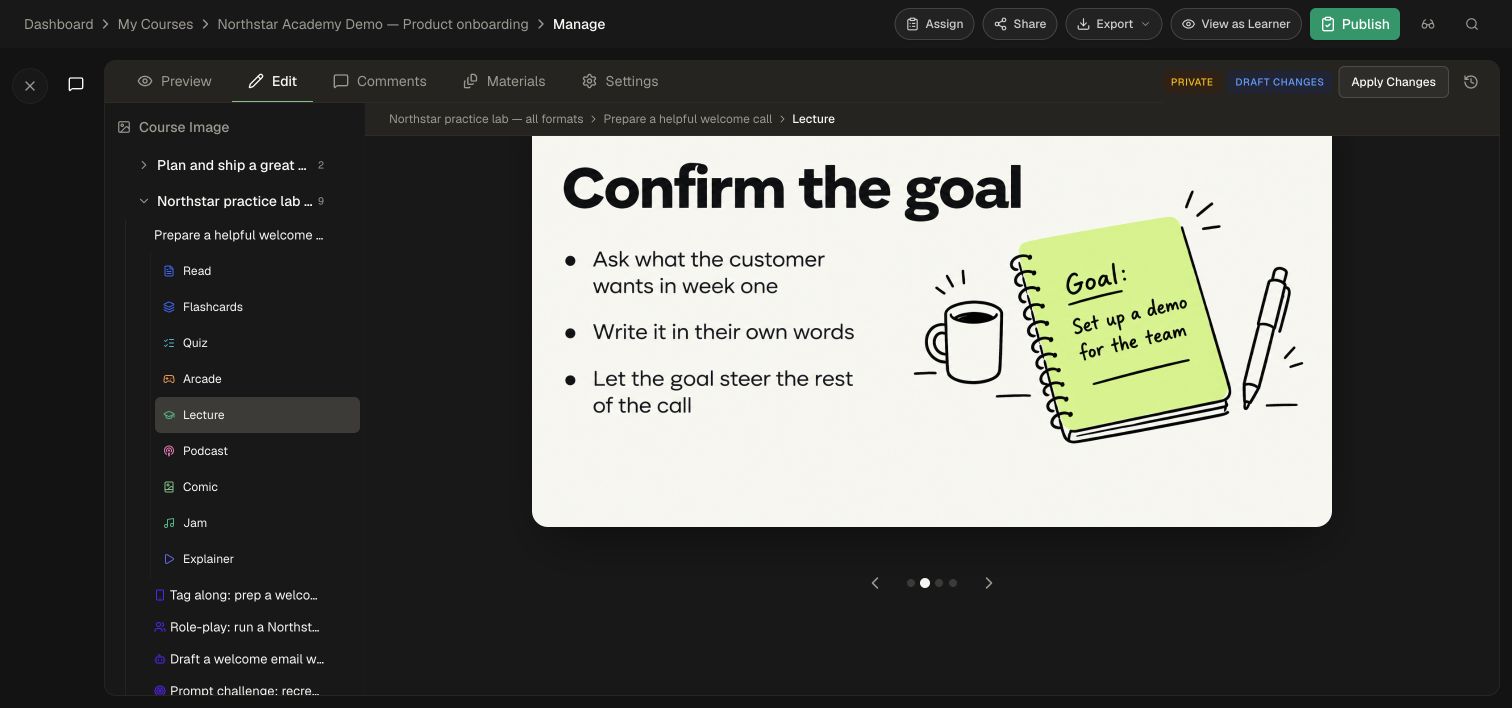
- Select a slide in the image carousel using its thumbnails or previous/next controls.
- Below the carousel, find the matching slide number and edit its Title, Bullet Points, Speaker Notes, and Illustration Description. Enter one bullet point per line.
- To change the slide image, enter a focused request in Describe changes to this slide… and submit it.
- Inspect the generated image preview. Choose Accept to keep it or Reject to retain the previous image.
- Open Learner View. Use Previous slide, Next slide, or a numbered slide control to check the sequence and readability.
Use the text fields to refine slide content. To update wording or artwork inside the illustrated image, describe the visual change and review its generated preview.
Use original document pages as slides
Attach the PDF or deck through course materials, then explicitly ask the assistant to use its actual pages as the lecture. Name the document and page range. For example: “Use pages 2–5 of the attached welcome-call deck as this lecture; preserve their order.”
If you want only the extracted diagrams or figures, say that instead. Reusing original pages and generating new illustrated slides produce different results. When splitting a source across lectures, give each lecture its own page range.
Podcast: edit the conversation and rebuild audio
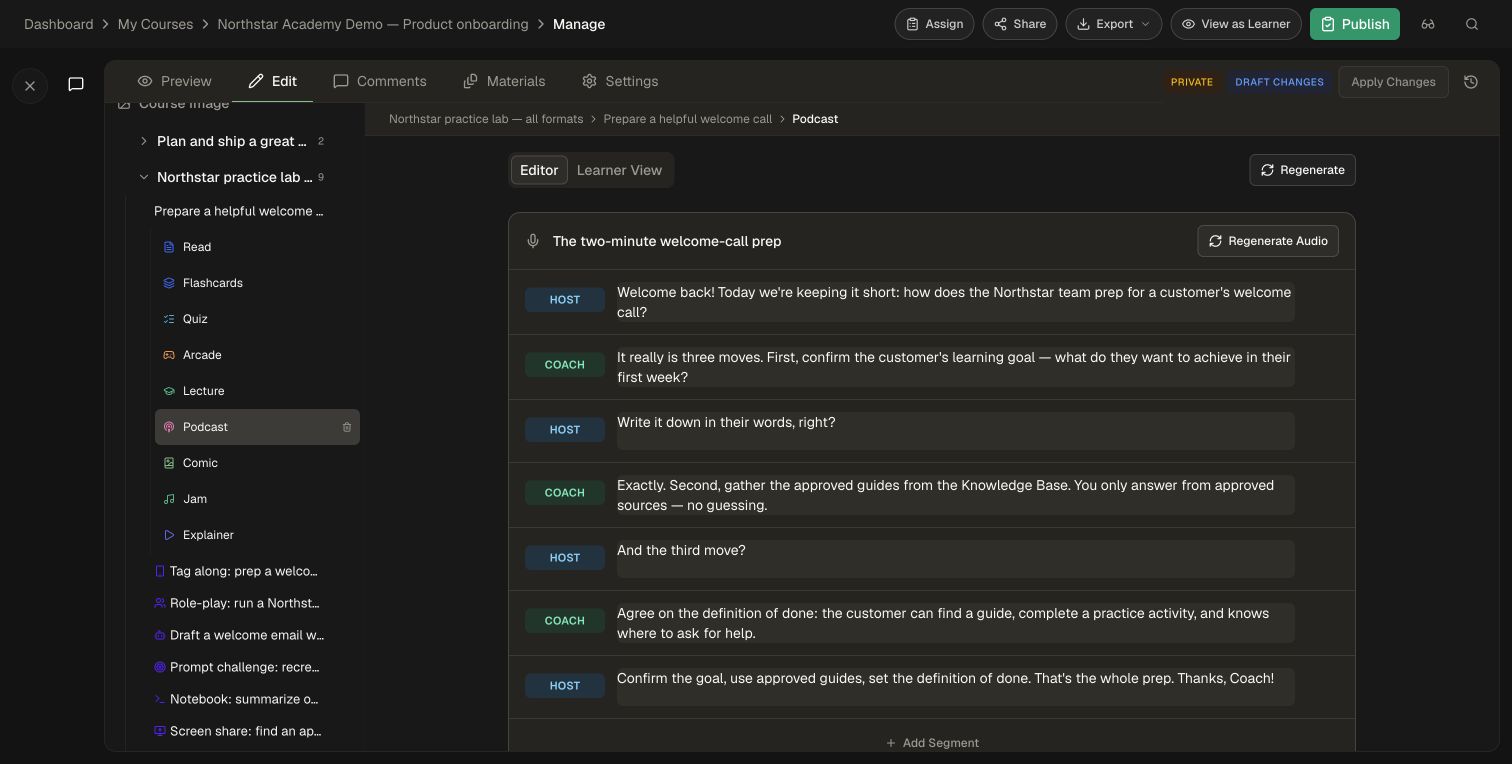
- Open Podcast → Editor.
- Edit the Episode title.
- For each script segment, select its speaker and edit what they say.
- Use Add Segment, or the plus control between segments, to add a turn. Use a segment's trash control to remove it; the editor keeps at least one segment.
- Wait for your changes to save. Select Regenerate Audio when you want a new generated result.
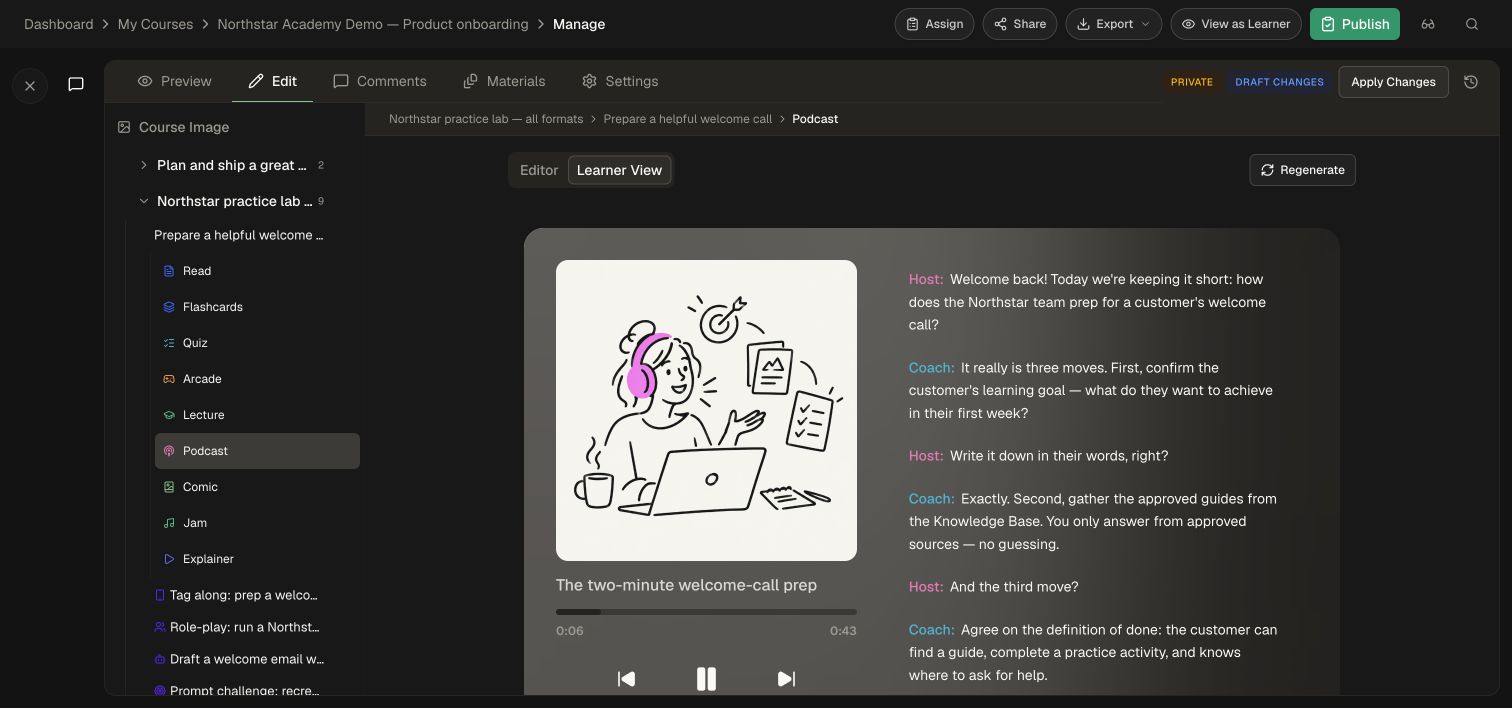
- Wait for generation to finish, then open Learner View. Play the episode and compare it with the Transcript. Use the playback position and 15-second skip controls to check the changed passage.
After editing the conversation, use Regenerate Audio to create the updated episode. Review the full episode and transcript together.
Video: choose generated, uploaded, or hosted content
Be explicit about the source when requesting a Video activity:
| What you want | What to provide |
|---|---|
| A generated explainer | Ask the assistant to create a narrated video about the topic. |
| Your existing video file | Upload the file to chat or Materials, then ask the assistant to use that uploaded video in the activity. |
| A video on your existing host | Supply a supported Vimeo or Brightcove link and ask to use it as a hosted video. |
Use an uploaded file to bring an existing recording into the course. For hosted video, enable embedding on your learning-site domain in the host’s settings.
Edit a generated video
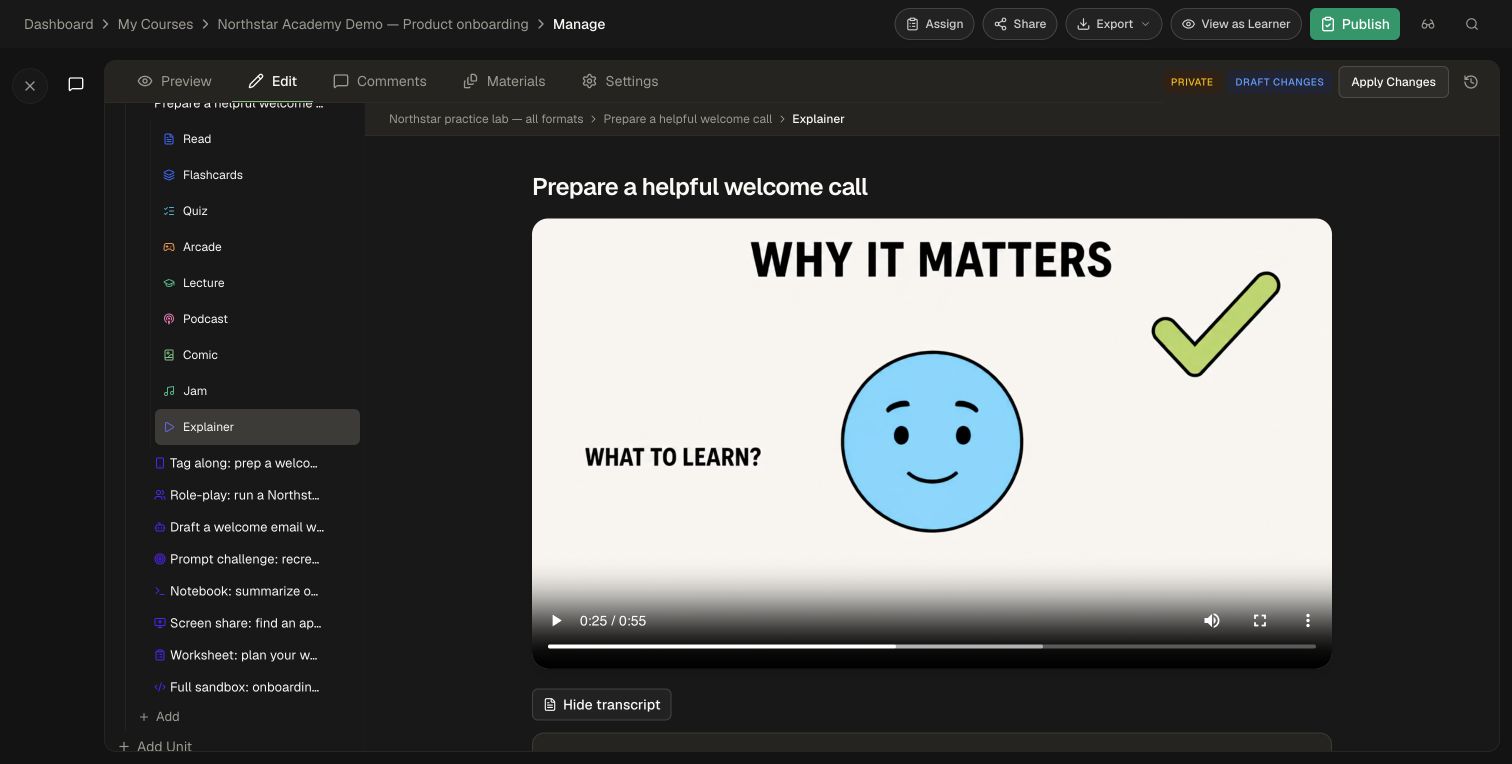
- Open the Video activity under the topic. Its learner-facing format can appear as Explainer.
- If the editor shows one Step at a time, use Previous step and Next step to choose the relevant section.
- Change Spoken narration, Voice, or Artwork change. A separate Caption field appears for the caption style that supports it; word-by-word captions follow narration.
- Select Apply changes in the step editor and wait for Changes applied. Narration, voice, and artwork changes regenerate that step. Discard abandons unapplied changes in those fields.
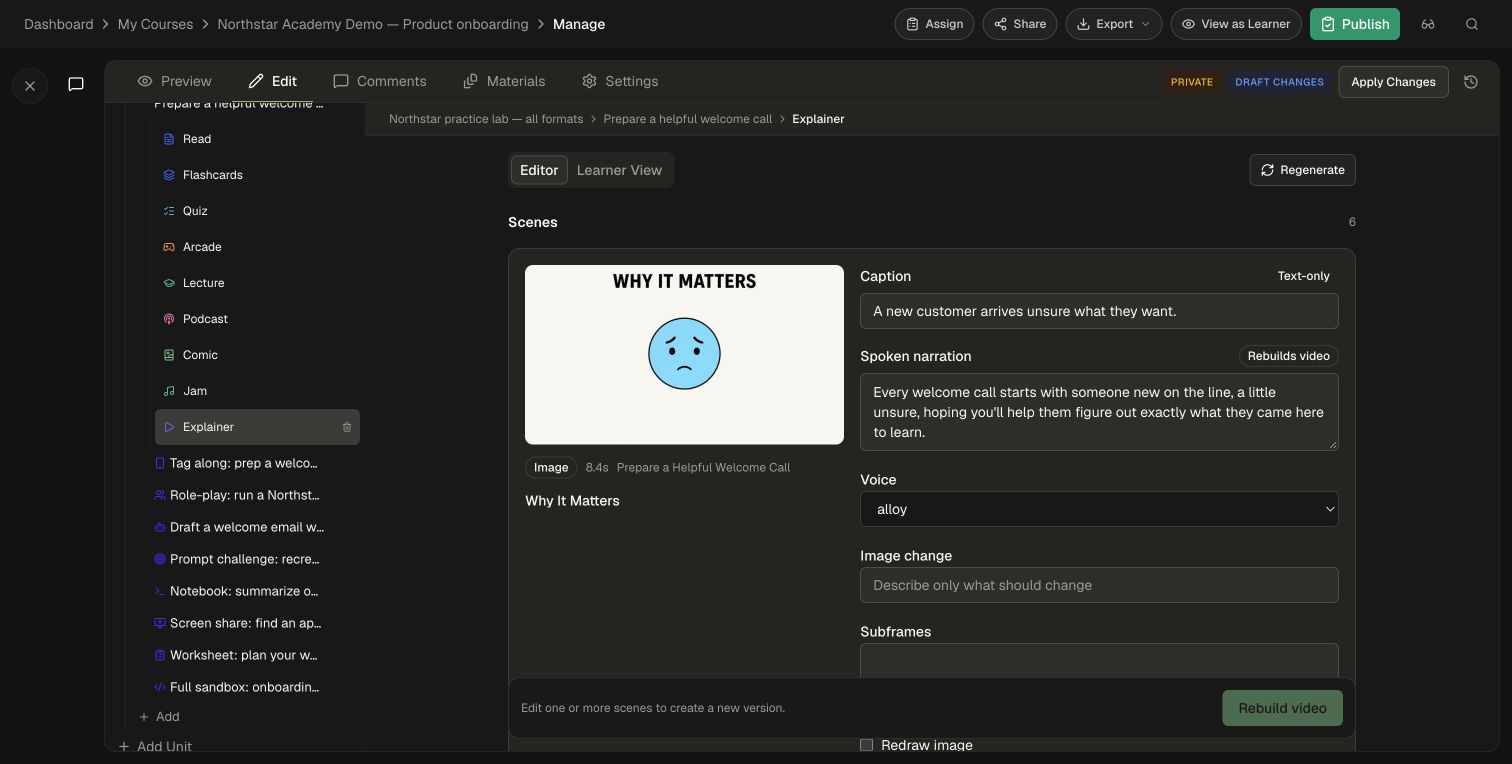
- If the editor instead shows a Scenes list, edit the relevant scene fields and select Rebuild video. The current video remains playable while the edited version is rebuilt.
- Open Learner View and watch the affected section. Check the narration, artwork, captions, and Show transcript panel where available.
Use the step or scene editor for a focused change, or Regenerate for a broader rebuild. Where Render options are available, choose Aspect ratio, Captions, and Voice before regenerating.
Add real screenshots to a generated explainer
Where the video editor provides Screenshots:
- Select Add.
- Choose Upload, Course images, or Walkthrough frames. Add up to three images.
- Give each screenshot an accurate name and description. Reorder them if needed.
- Select Regenerate to build a video with your selected screenshots.
- Watch the new result and check that it uses the intended screens.
Edit an uploaded or hosted video
- Open the activity's Editor and correct its title.
- For an uploaded video, edit Notes and Transcript as needed. Use these fields for the accompanying text. To replace the recording, attach the new file and ask the assistant to use it for this activity.
- For hosted content, use Hosted video URL or iframe code and enter the supported link or embed. Use hosted video switches an existing video entry to that source type; only choose it when you intend to replace the current source.
- Save and check Learner View. For hosted video, confirm playback works for the intended audience, including any host-side access restrictions.
Use Regenerate for generated videos. For hosted content, supply a transcript alongside the player when you want learners to follow the video in text.
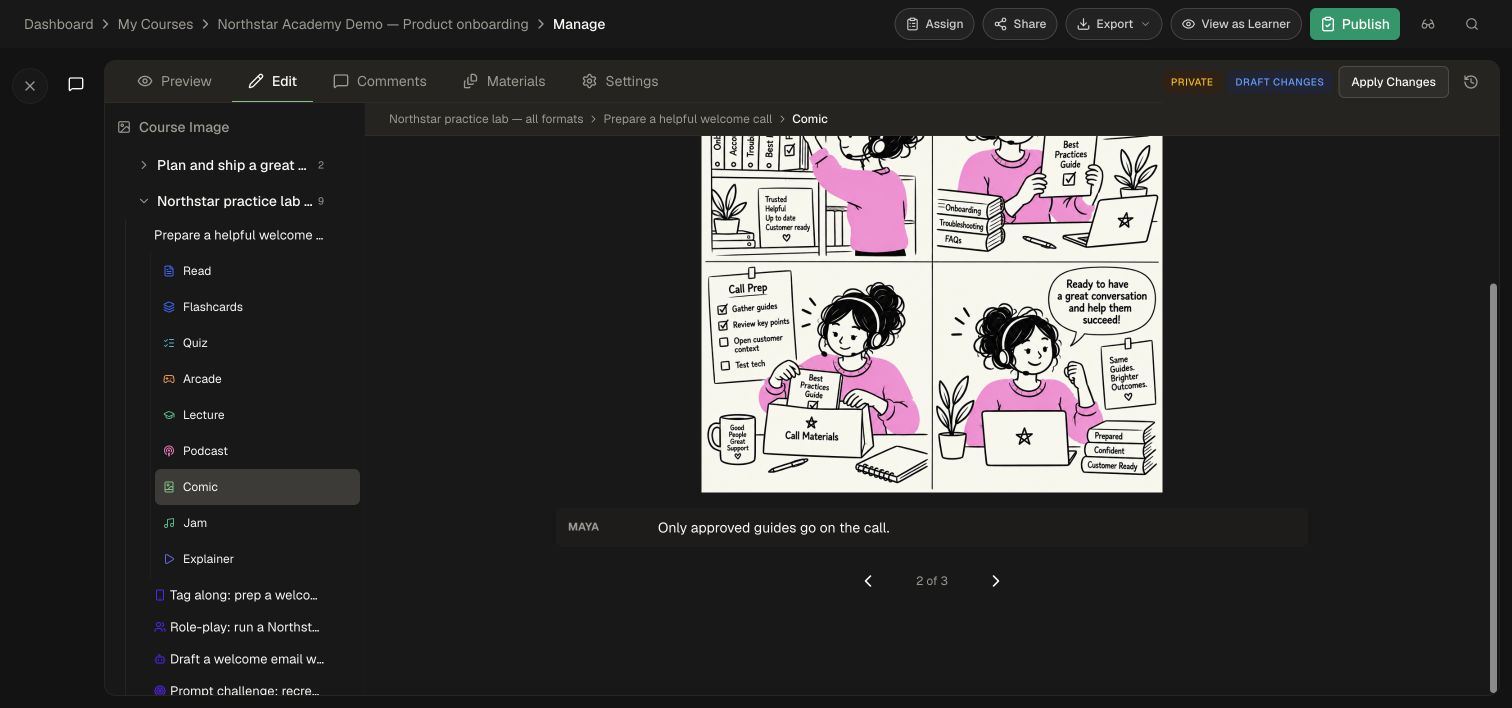
Comic: edit the story and panel artwork
- Open Comic → Editor.
- Select the panel you want to inspect in the image carousel.
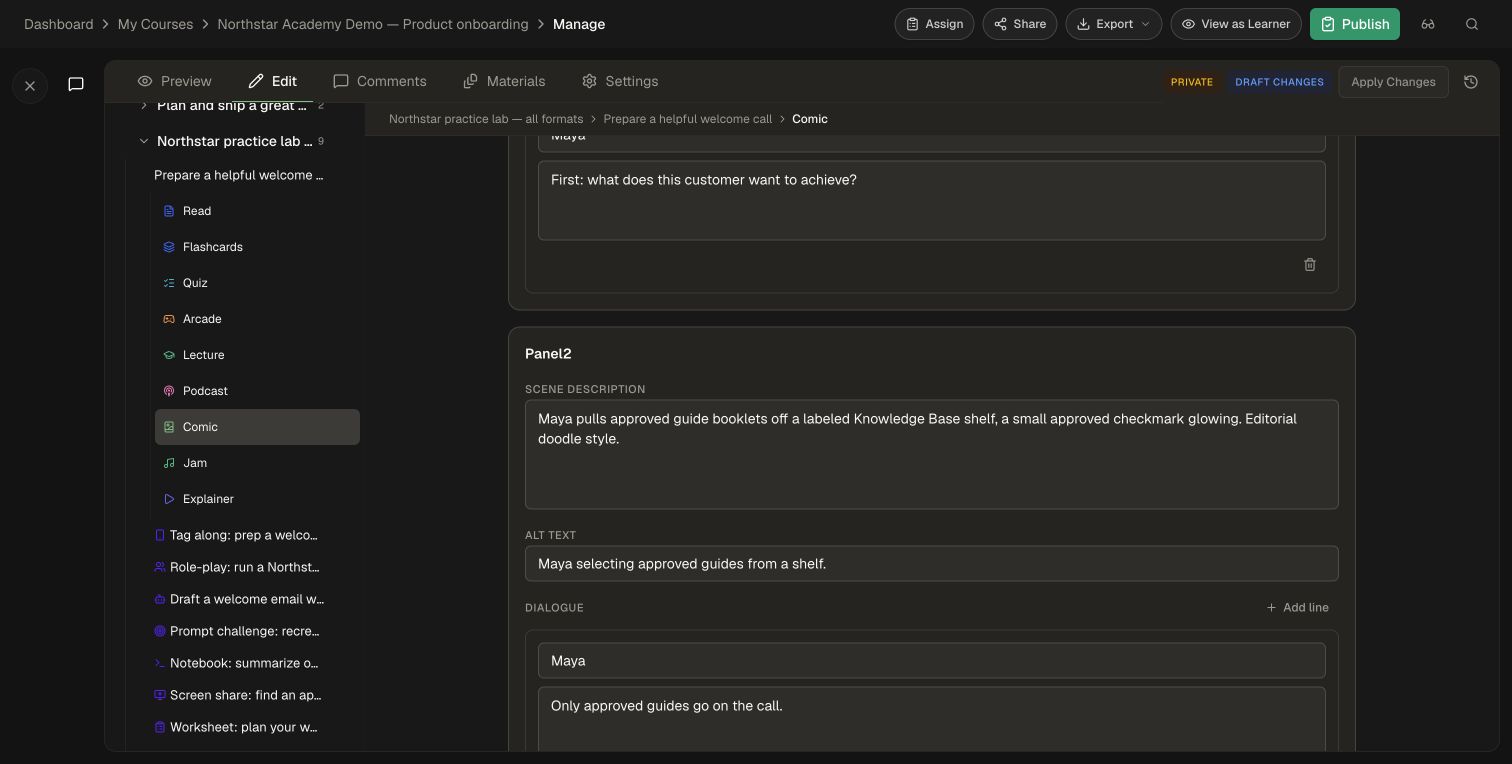
- Edit its Scene Description, Alt Text, and Dialogue. Use Add line for another speaker's line and fill in the speaker and text.
- To change the actual image, use Describe changes to this panel…. Inspect the preview and choose Accept or Reject.
- Open Learner View. Check every panel, including dialogue rendered in the artwork.
- Choose Flat view for a straightforward reader or 3D view for an interactive presentation. Switch to flat view opens the flat reader from the 3D screen.
Use dialogue fields to refine the accompanying text, and request an image change to update illustrated speech bubbles. In flat view, use Previous panel and Next panel; the 3D reader provides page-selection, zoom, and rotation controls.
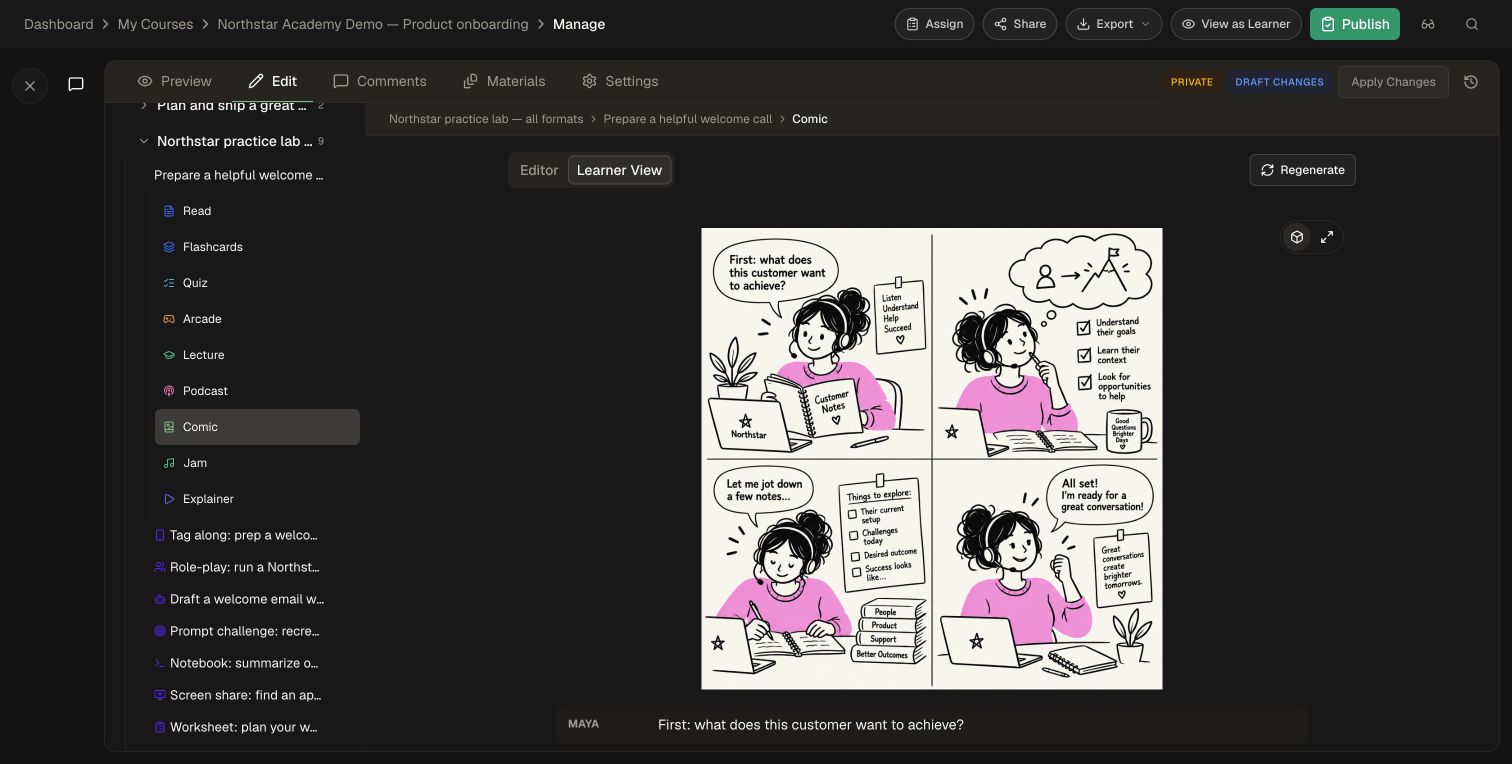
Use Next panel to continue. The page indicator and dialogue update with the selected panel.
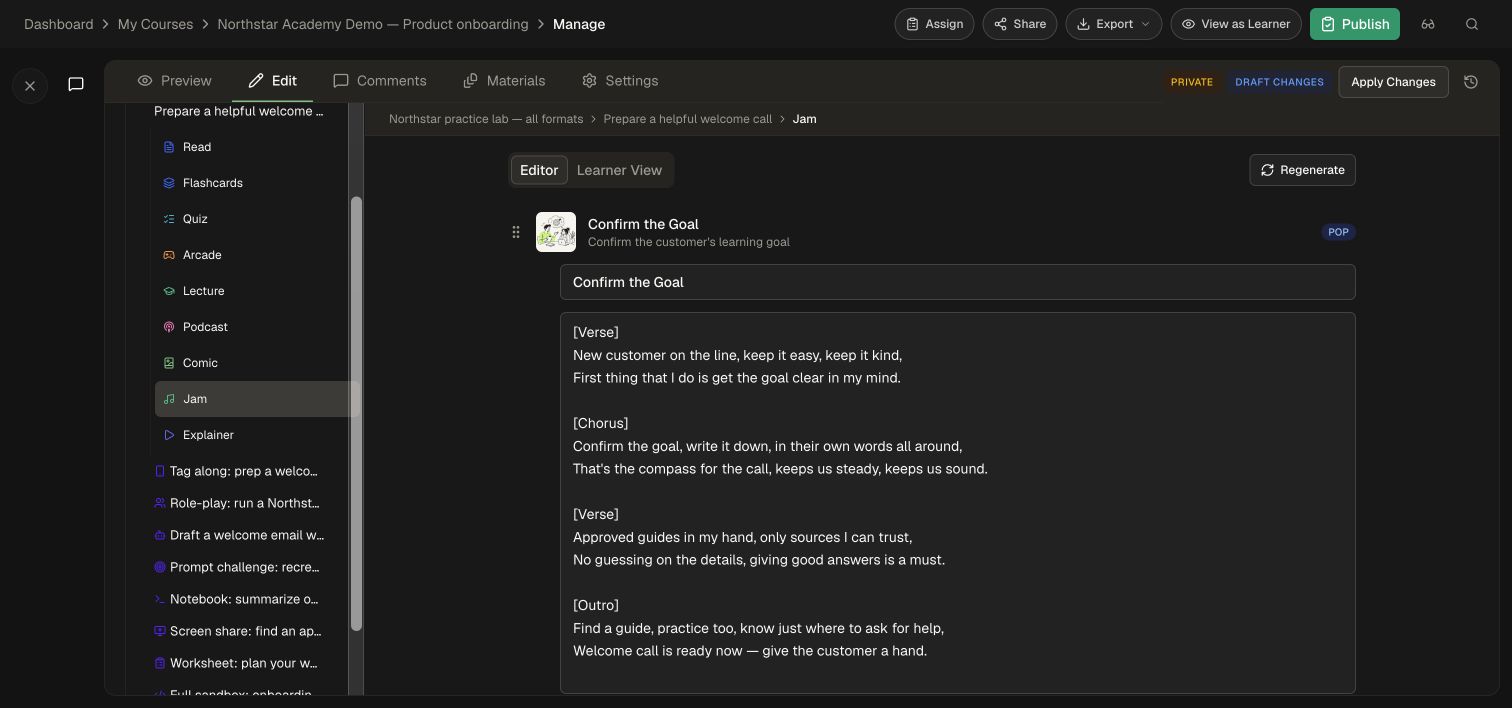
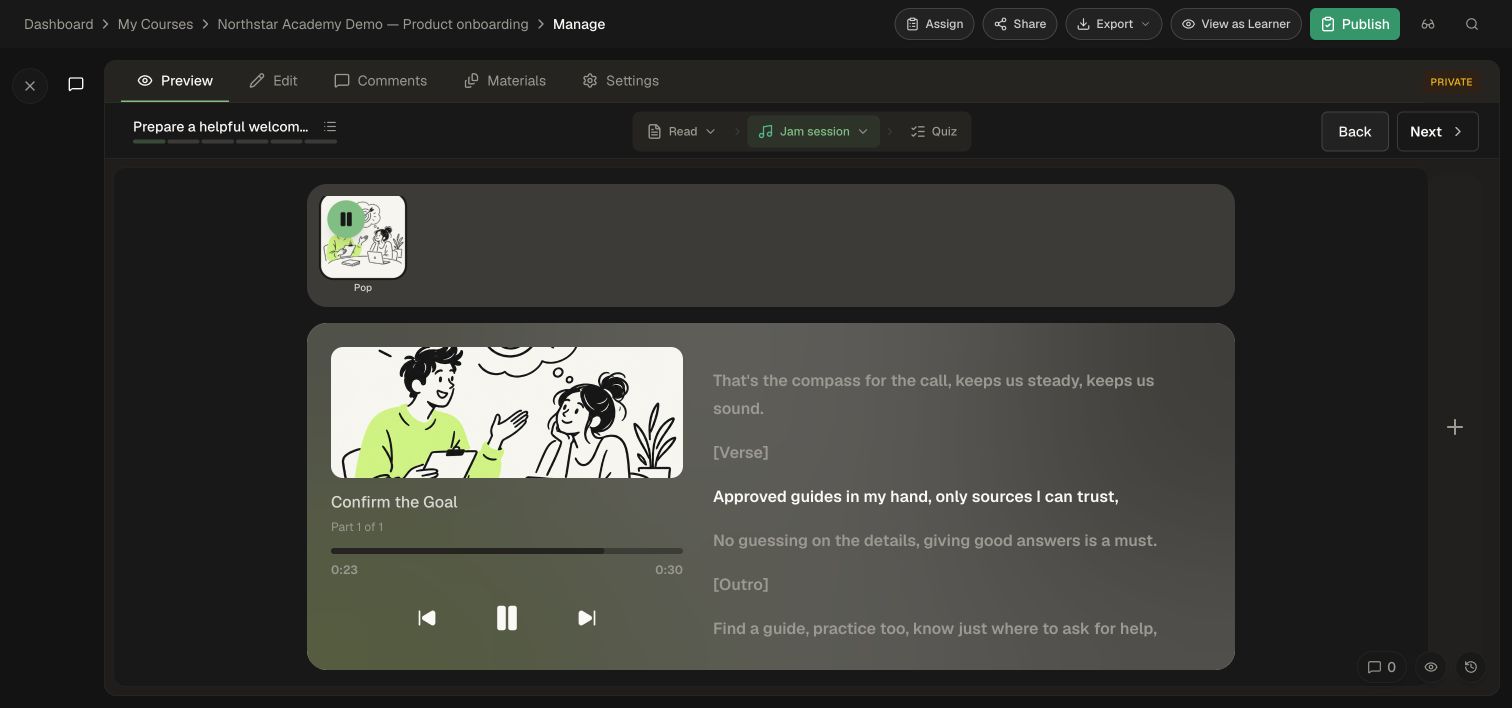
Jam: edit song titles, lyrics, and order
- Open the topic's Jam activity. It may be labeled Jam session in creation controls.
- In Editor, expand a song row to inspect its title and lyrics. The genre badge and associated learning goal help identify the track.
- Edit the song title or lyrics. Drag song rows to change their order.
- Wait for changes to save, then use Regenerate to create audio from the updated lyrics. You can also describe the music change to the Course Editor Assistant.
- Open Learner View or the course Preview, choose Jam session, select a song, and use the playback controls. Compare the sung words and displayed lyrics, especially after a change.
A generated Jam organizes songs around the topic's learning goals. Review the result for factual accuracy as well as musical presentation.
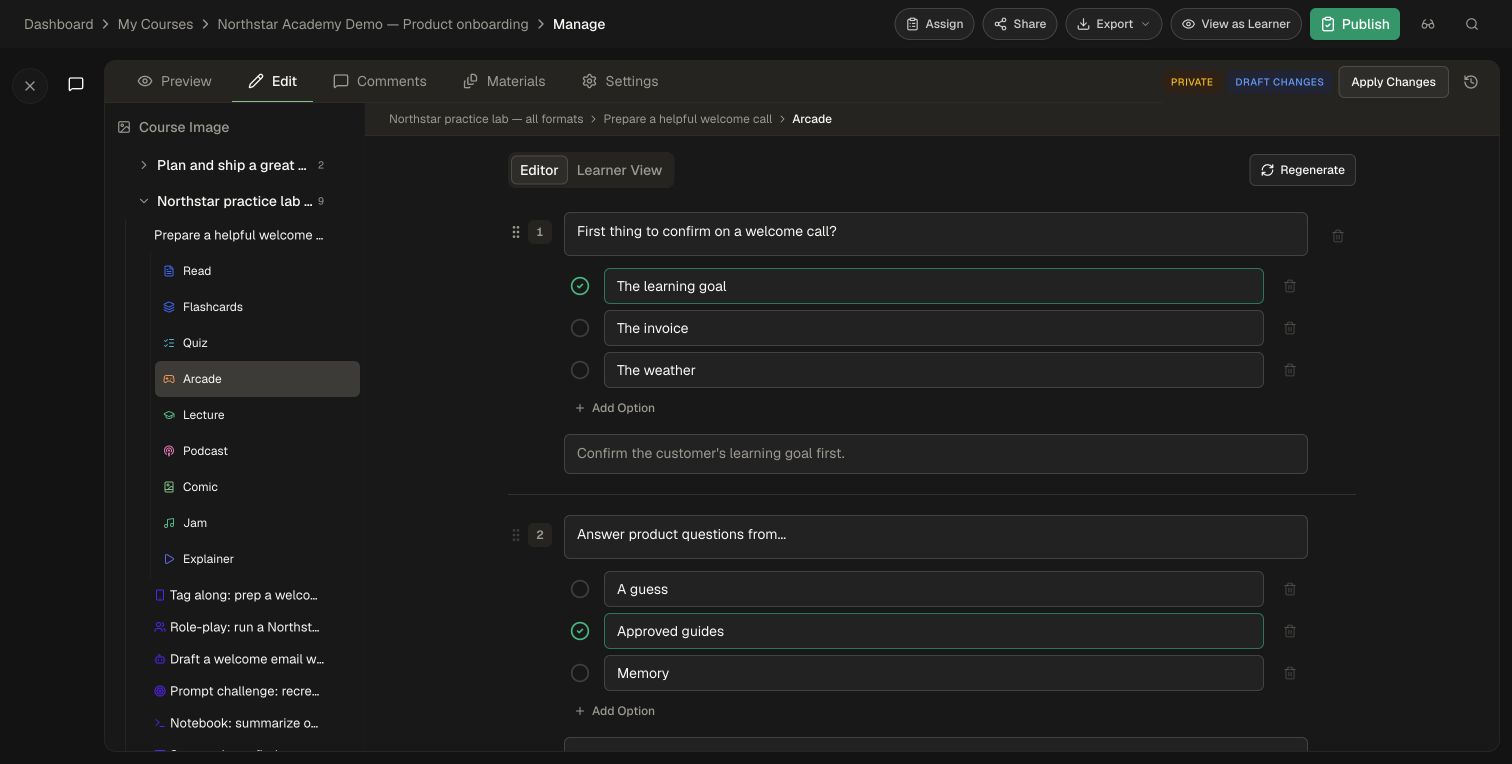
Arcade: edit the questions behind the game
- Open Game or Arcade under the topic in Edit.
- Inspect each question, its options, the selected correct answer, and explanation.
- Use Add Game Question to add another question and Add Option for an additional choice. Keep the question and choices short enough to read during play.
- Save your changes and open Learner View on a desktop or laptop.
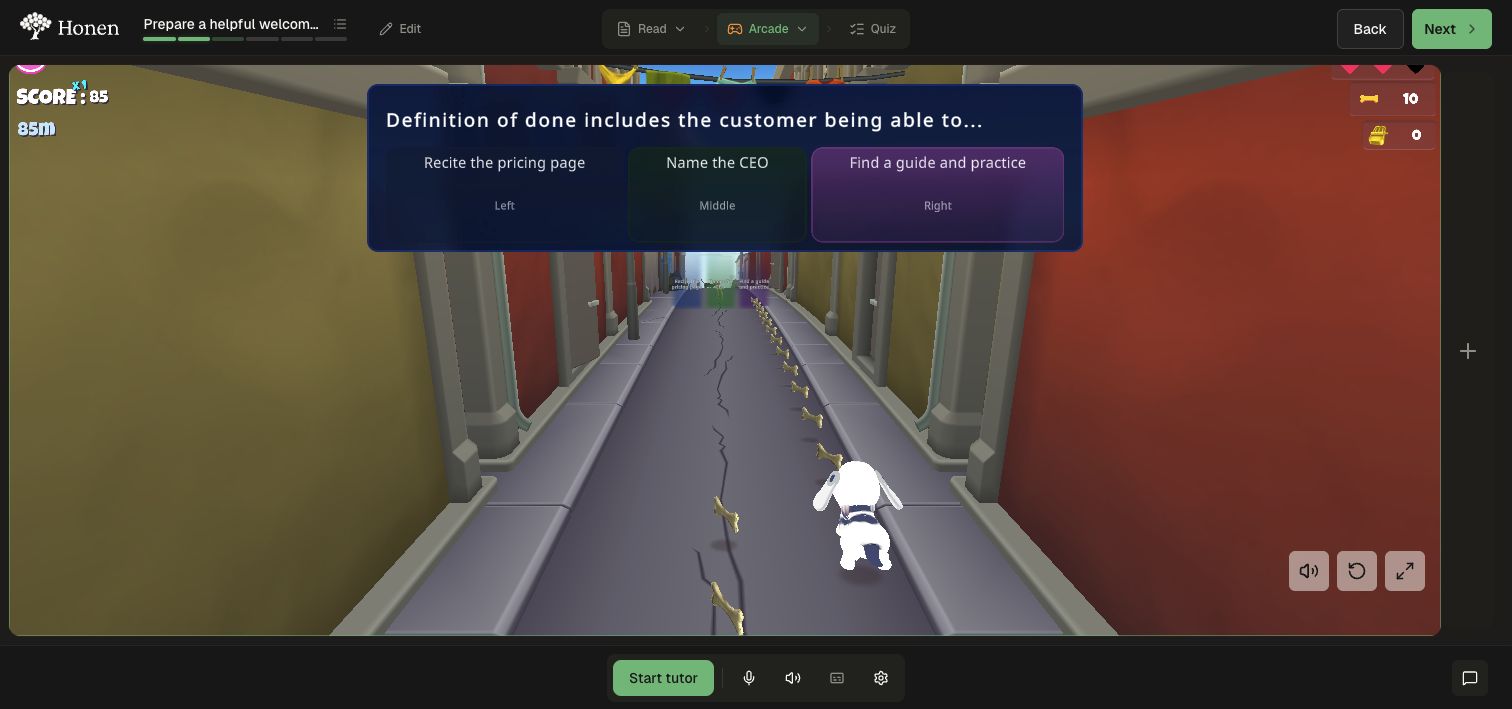
- Wait for the game to load, then select Start game. In City Run, select Run! to begin.
- In City Run, use the left and right arrow keys to move into the lane for your answer while avoiding obstacles. Use the game's mute, restart, and full-screen controls as needed.
Arcade brings your question set into interactive games. Keep prompts and answer choices concise, and have learners open the game on a desktop or laptop.
Save and share the updated course
Text edits are saved to the course draft. Use Apply changes, Accept, or Rebuild video within the media editor to finish the corresponding update, then preview the result.
When the course draft is ready, use the course-level Apply Changes or Save & Apply as shown. Wait for it to finish. Then follow Publishing and review if the updated course should reach learners. See Edit and review a course for draft and revision handling.
Play the updated media in Learner View to check the pacing, clarity, and fit with the lesson before sharing the course.