
Your first useful result in Honen is a course you can review and share. Start with a learning goal and, if you are teaching your team's process, its source material. Honen will ask for missing details, propose an outline, and build the course after you approve it.
This walkthrough follows a fictional welcome-call playbook in Northstar Academy · Demo. The steps are the same for your own topic.
Before you start
Sign in and choose the workspace where the course should live. You need permission to create content there. If you are teaching a company process, have a current playbook, document, or other approved source ready.
1. Start a course and add your sources
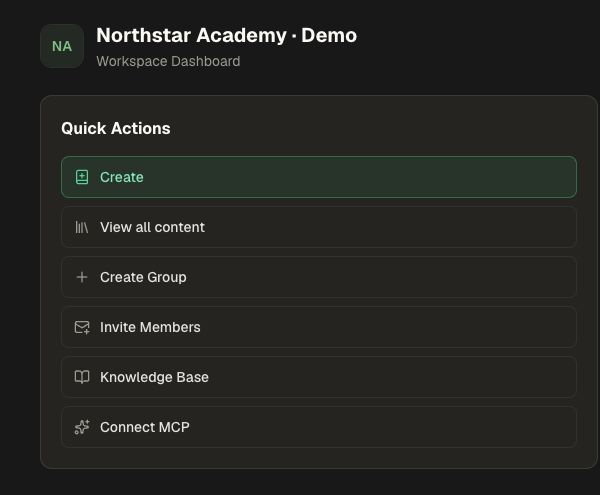
Open Create, select Course, then use Attach to add a file or a document from Knowledge Base. Wait for each attachment to finish processing before you submit your brief. For a general topic, you can start with a prompt alone; for your team's own procedure, provide the actual procedure as a source.
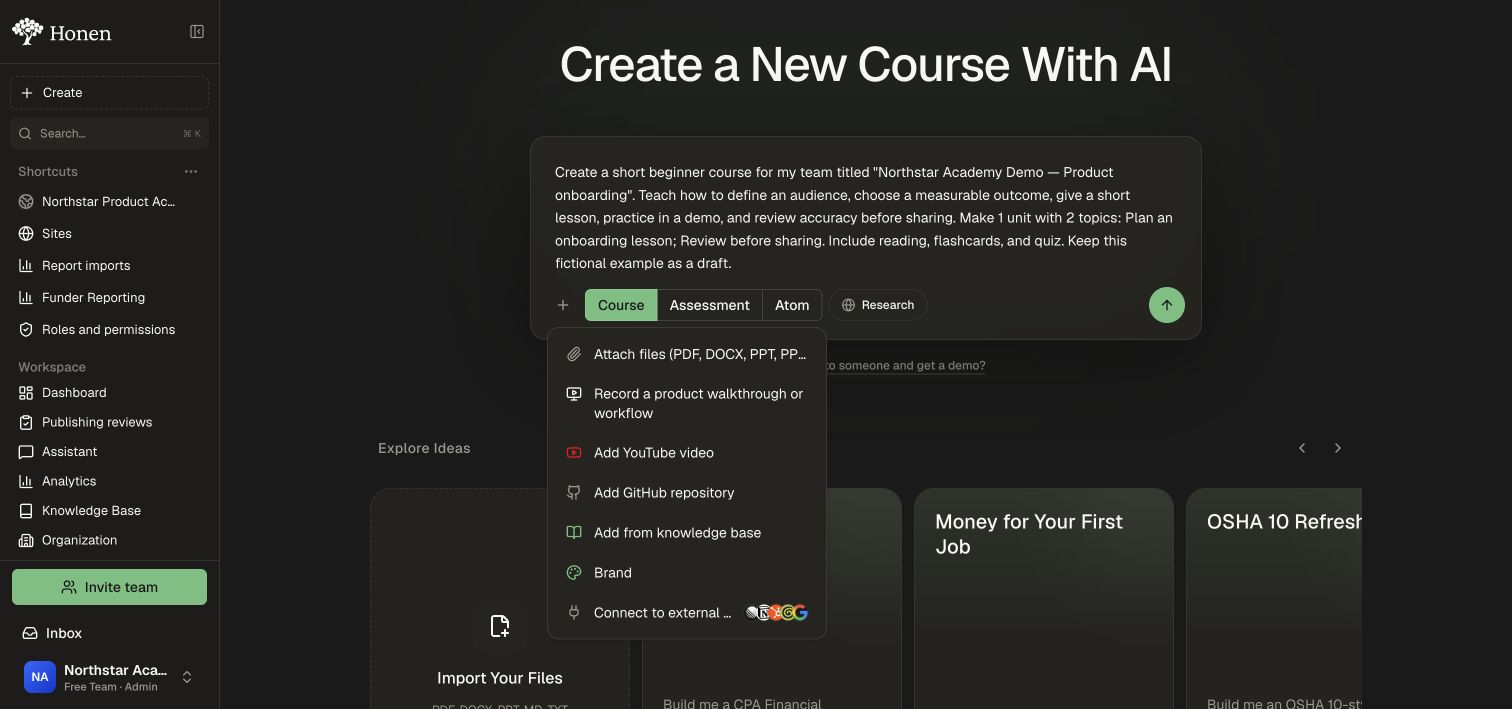
See Add sources to a course for the full file and Knowledge Base walkthrough.
2. Describe the goal and answer setup questions
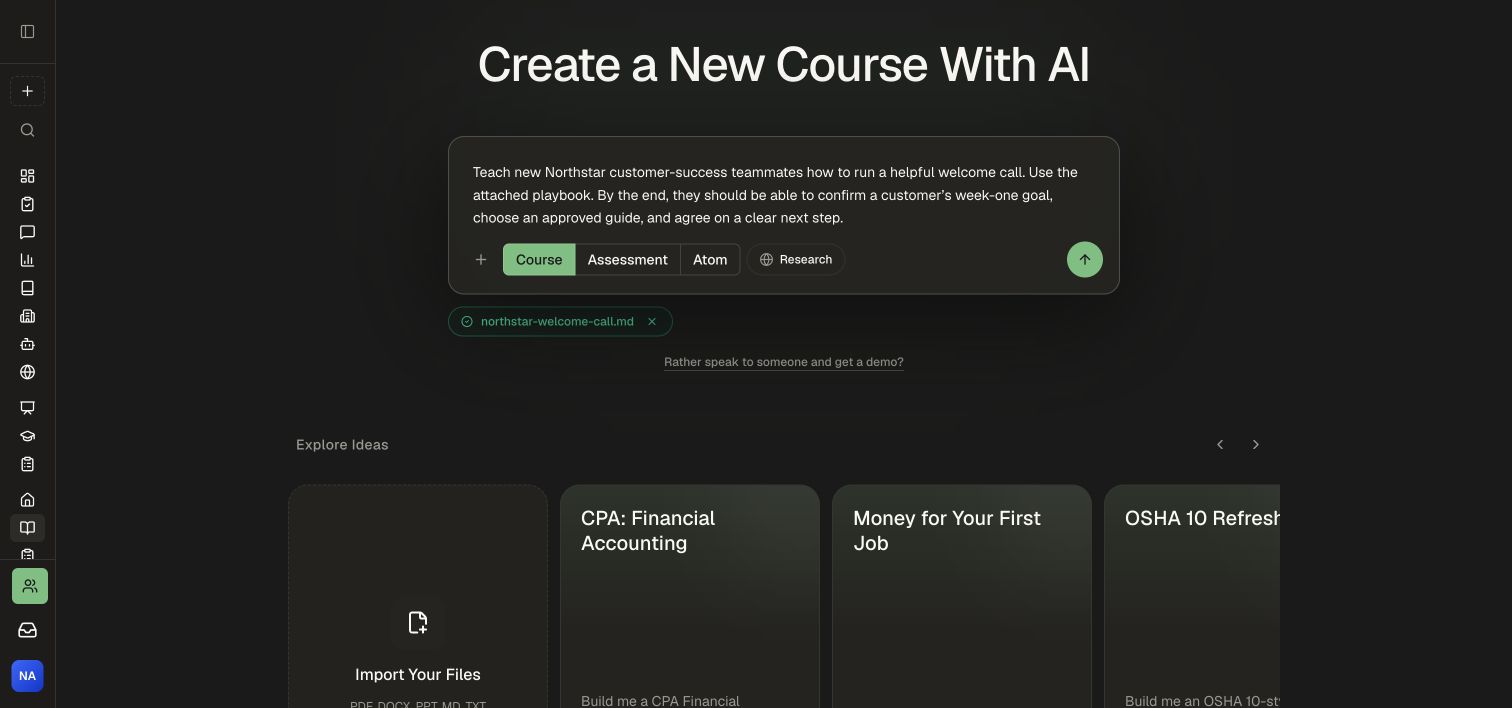
Tell Honen who the course is for and what learners should be able to do. Mention the source you attached, then select the create arrow. For example:
Teach new customer-success teammates how to run a helpful welcome call. Use the attached playbook. By the end, they should be able to confirm a customer's week-one goal, choose an approved guide, and agree on a clear next step.
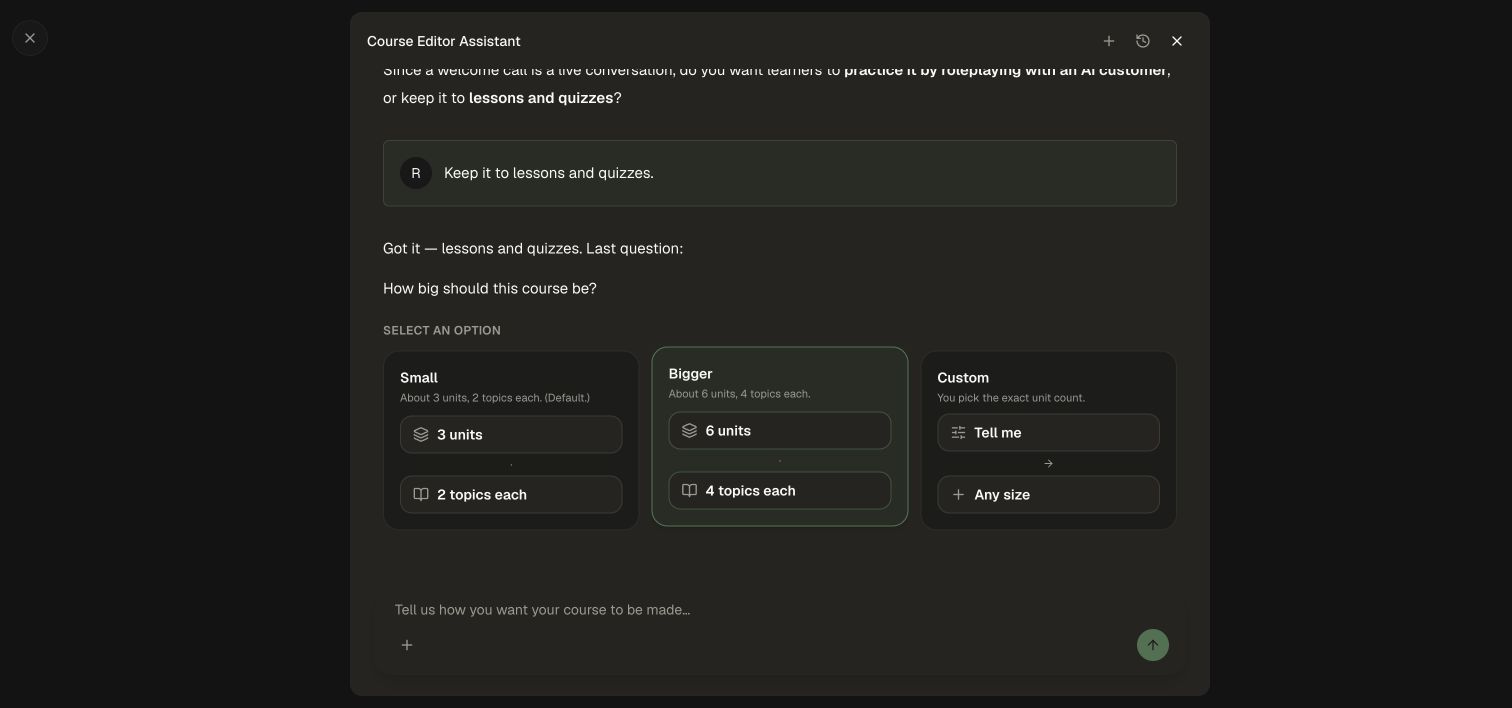
Answer the questions Honen asks about the audience, starting level, activities, and course size. Choose an offered answer or type your own. Honen skips details you already supplied; a workspace template may add its own questions.
3. Check and approve the outline
Read the proposed units, topics, learning goals, activities, and tests. Check that they support your goal and use the right sources. Ask for changes while it is still a plan; select Approve & Build when it is ready. Approval starts generation.
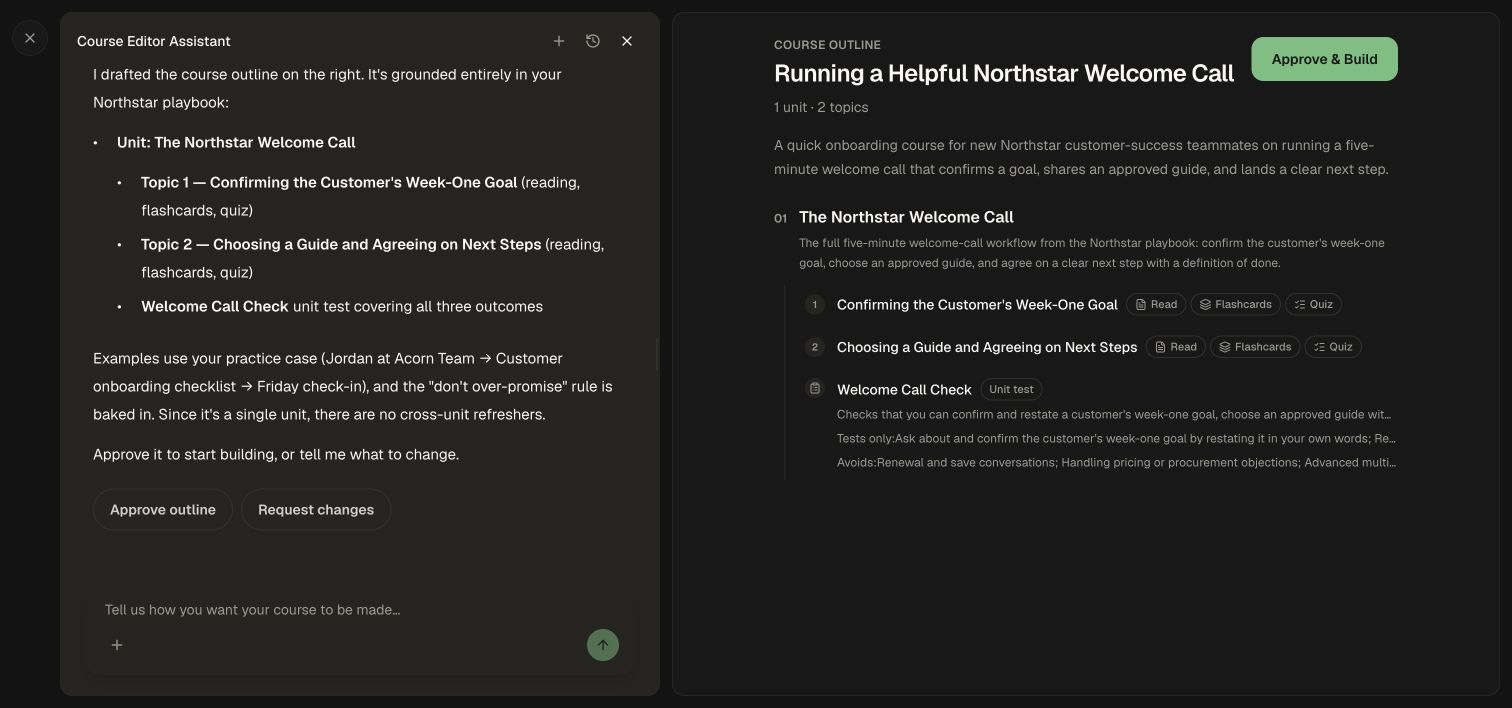
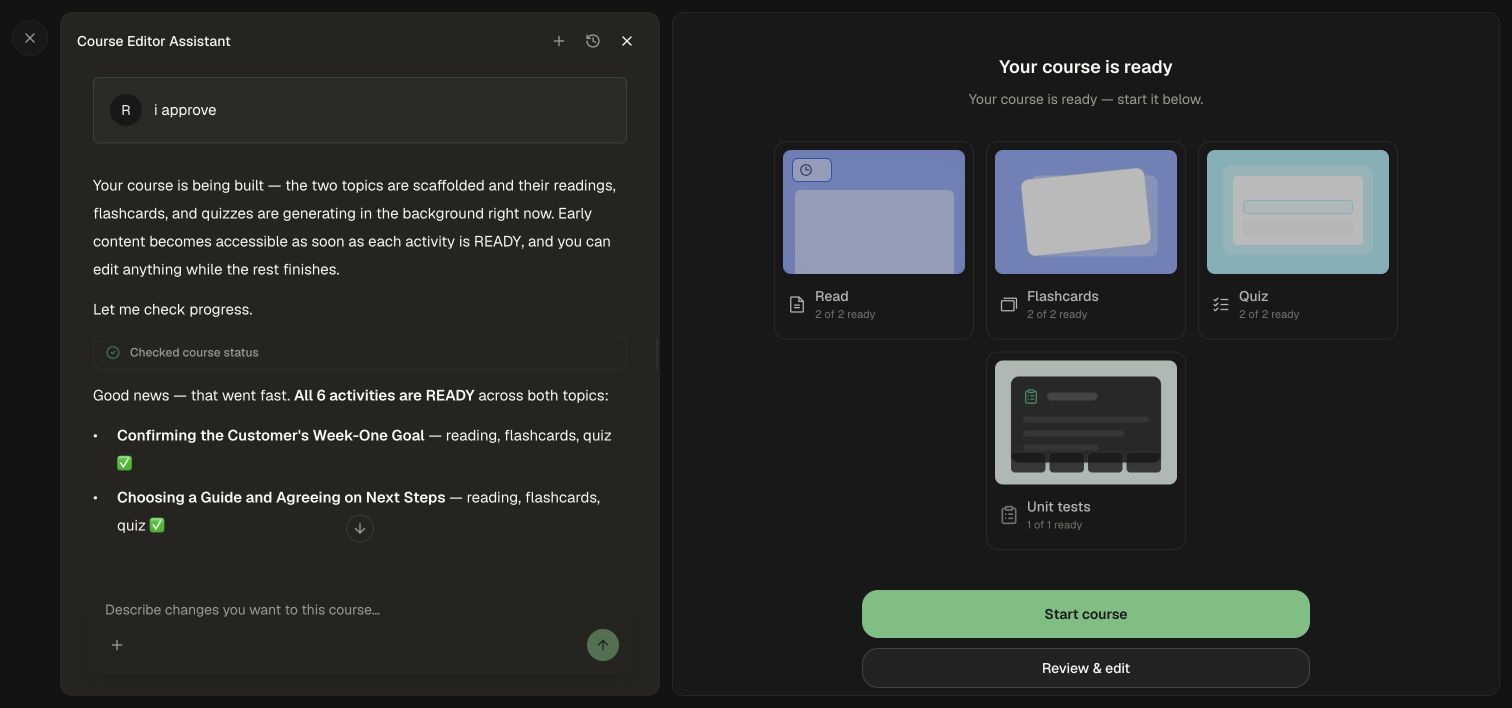
4. Review the finished course
Wait for the activities to finish building, then select Review & edit. Use Preview to read the lessons and try the activities. Check factual claims, answers, source references, media, and learner instructions. Use Edit or ask the course editor assistant for a specific revision.
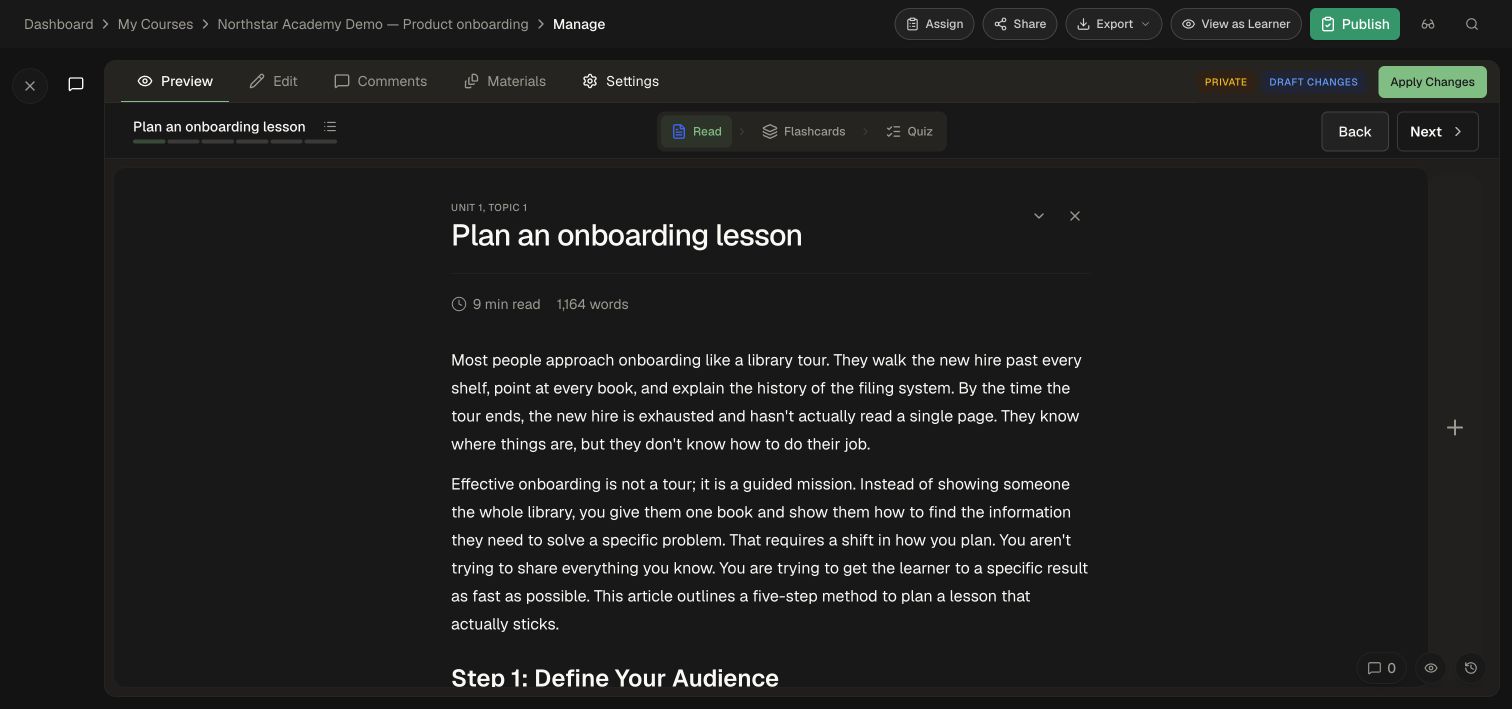
Follow Edit and review a course for more detail. Approving the outline and publishing the reviewed course are separate decisions.
5. Publish and make the course available
Once your review is complete, select Publish from the course manager and choose the destination catalog. If your workspace uses publishing reviews, submit the course and wait for the required approval. Confirm that the course appears in the catalog and that the intended audience can access it. For named internal learners or students, use an assignment. For external documentation, customers, or partners, publish an academy. Use an LMS integration when learners already work in another platform.
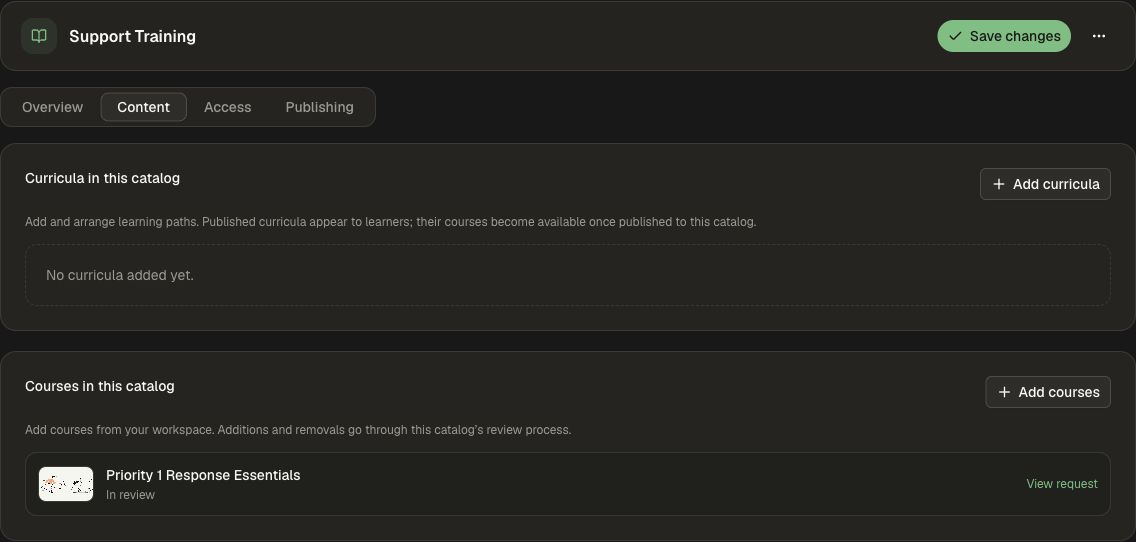
See Publishing and review for catalog access and approvals. Once people begin learning, use analytics to inspect activity and results.
Keep going
For a more detailed version of this workflow, follow Create your first course. Then Explore the Honen guides for sources, authoring, delivery, and administration. The Workspace Assistant is useful later when you want a source-backed answer or help with a workspace task.